Speech Enhancement Setup Guide
Follow this guide to install Arctan for speech enhancement, complete first-time login, configure Windows audio, and set up calling apps so they use the processed Arctan microphone.
Contents
1. System Requirements
| Requirement | Recommended |
|---|---|
| Operating system | Windows 10 or later. |
| Processor | Intel 4th generation or newer. |
| Memory | 8 GB RAM. Minimum supported: 4 GB RAM. |
| Storage | At least 500 MB free space on the system drive. |
2. Before You Start
- Use a Windows computer with administrator access.
- Keep your headset or speaker and your real microphone connected.
- Make sure you have your Arctan username and password.
- Close calling apps such as Teams, Chrome-based dialers, or X-Lite before installation.
3. Install Arctan
Step 1: Run the installer
Download the Arctan installer from the link shared by Arctan support, then double-click the installer file.

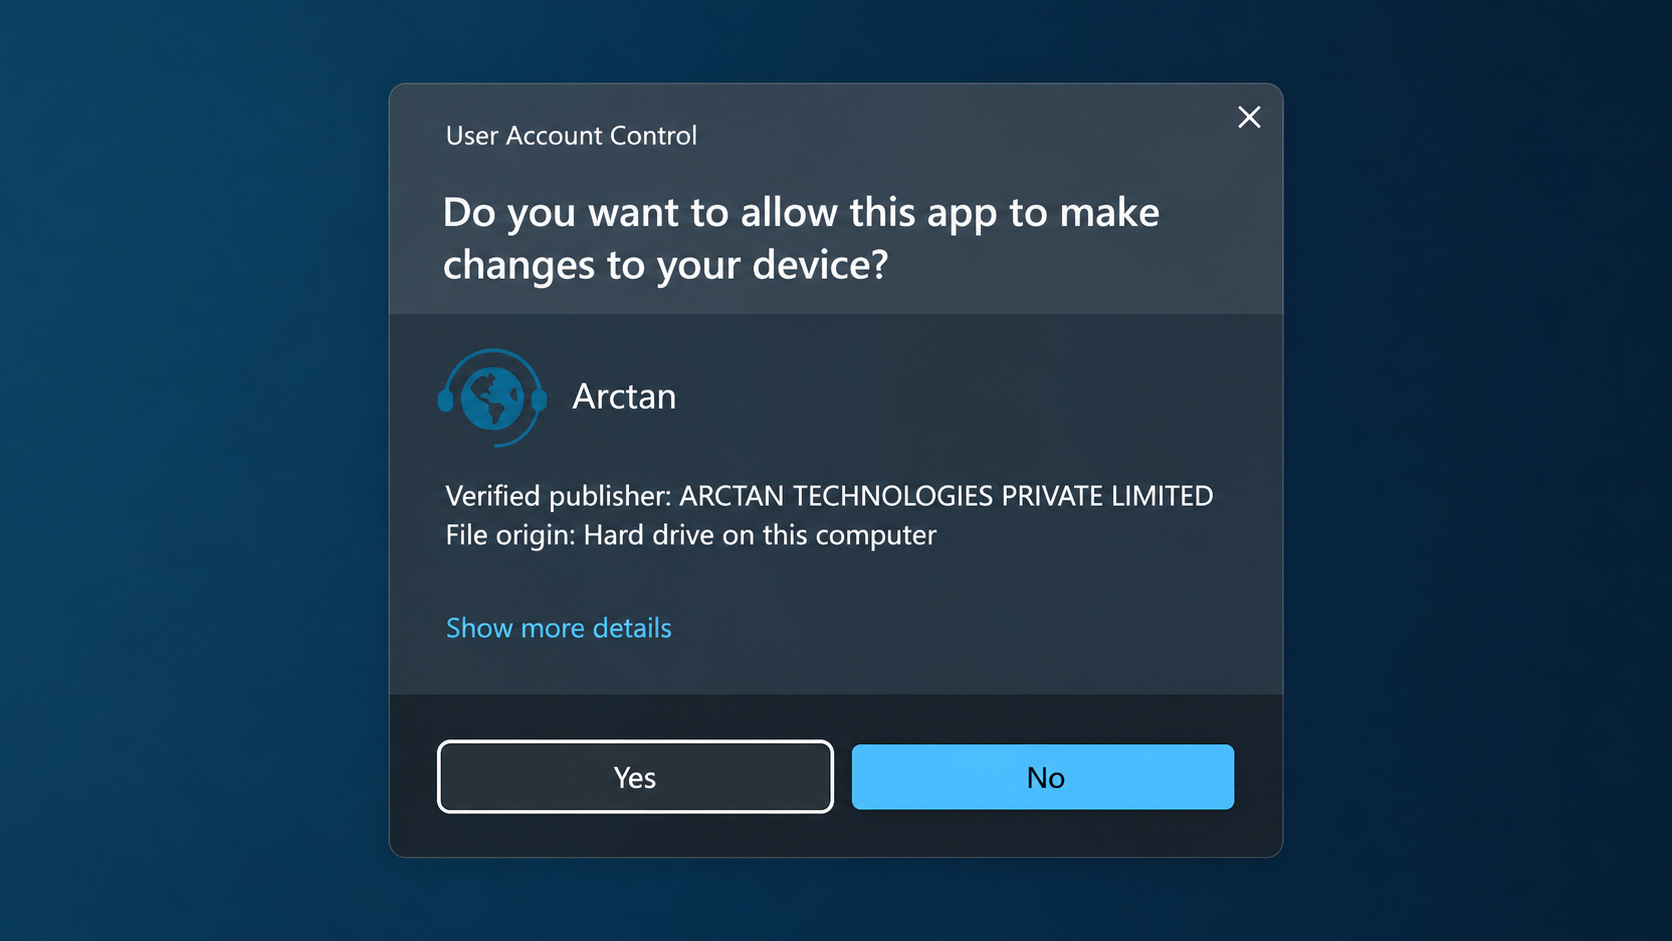
Step 2: Allow Windows administrator access
If Windows asks whether the app can make changes to your device, verify the publisher is ARCTAN TECHNOLOGIES PRIVATE LIMITED, then click Yes.
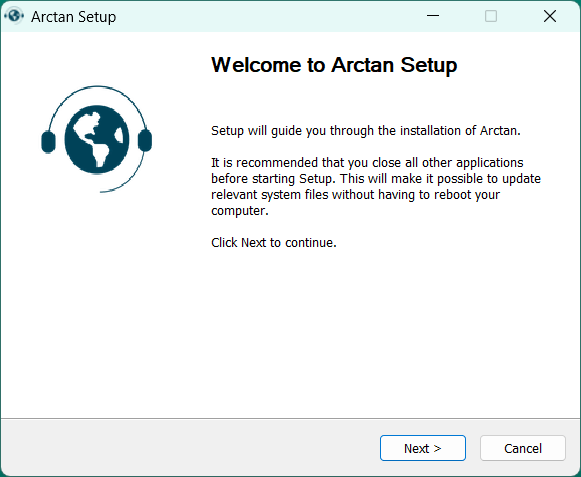
Step 3: Start setup
In the Arctan Setup window, click Next.
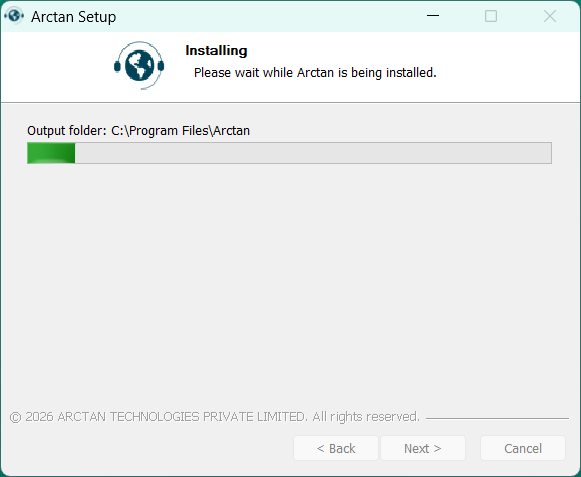
Step 4: Wait for installation
Keep the setup window open while Arctan installs to your computer.
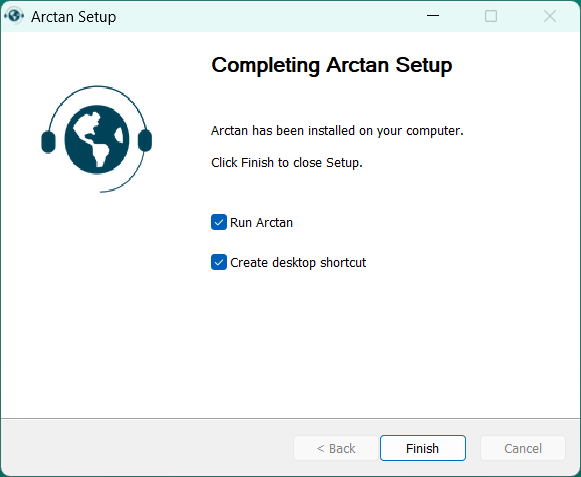
Step 5: Finish setup
On the completion screen, keep Run Arctan selected. Keep Create desktop shortcut selected if you want a shortcut, then click Finish.
4. Log In and Confirm Arctan Is Active
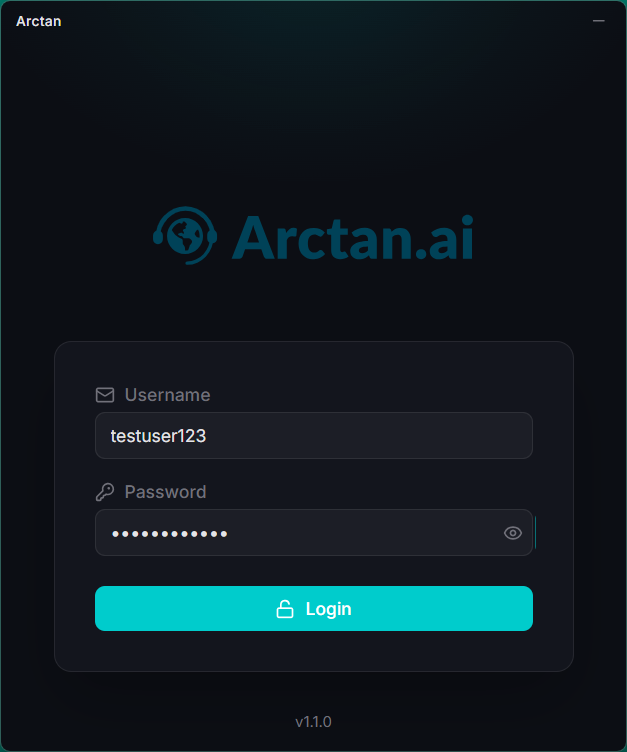
Step 1: Sign in
When Arctan opens, enter your username and password, then click Login.
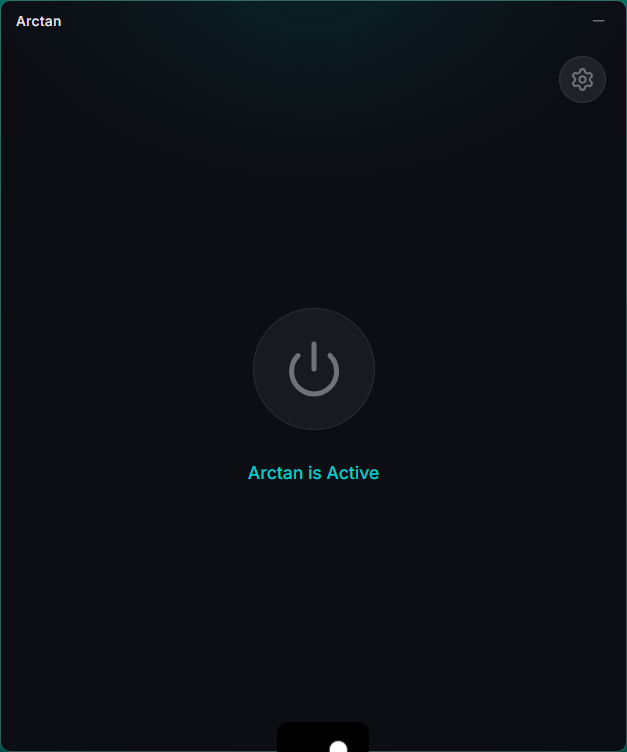
Step 2: Confirm the app status
After login, wait until the main screen shows Arctan is Active.
5. Configure Windows Sound Settings
Open the classic Windows Sound control panel. You can search for Sound settings, then open more sound settings or advanced sound options to reach the Playback, Recording, Sounds, and Communications tabs.
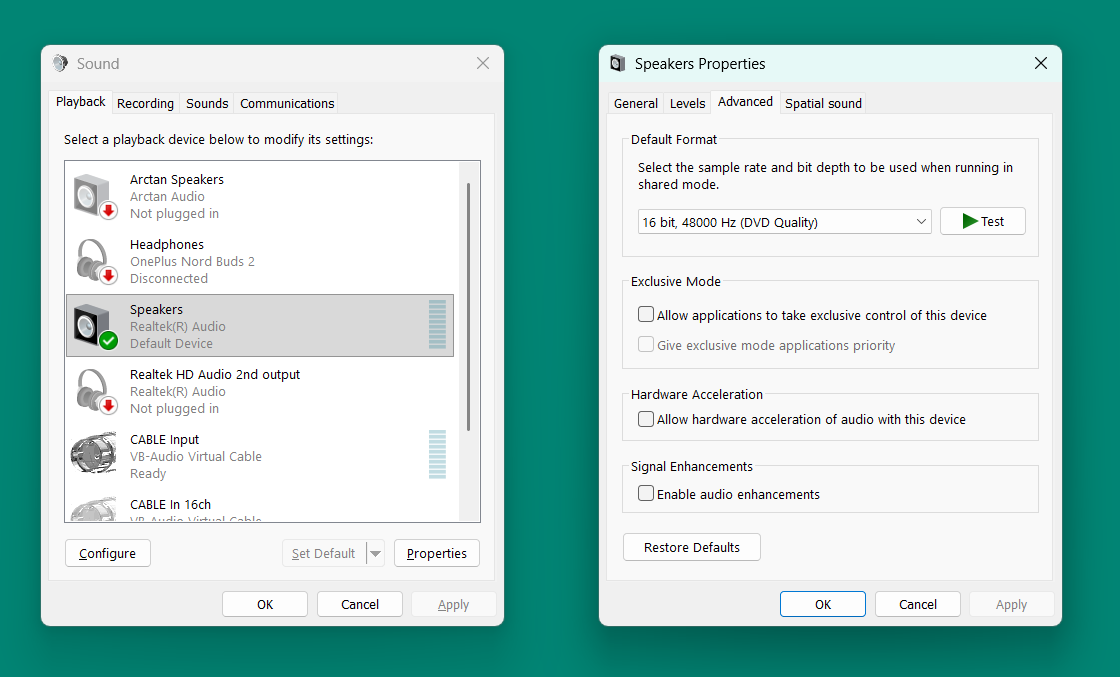
Step 1: Set your real speaker as the default playback device
On the Playback tab, select the speaker or headset that you actually listen through and set it as the Default Device.
Then open Properties for that device, go to Advanced, and clear these options when available:
- Allow applications to take exclusive control of this device
- Allow hardware acceleration of audio with this device
- Enable audio enhancements
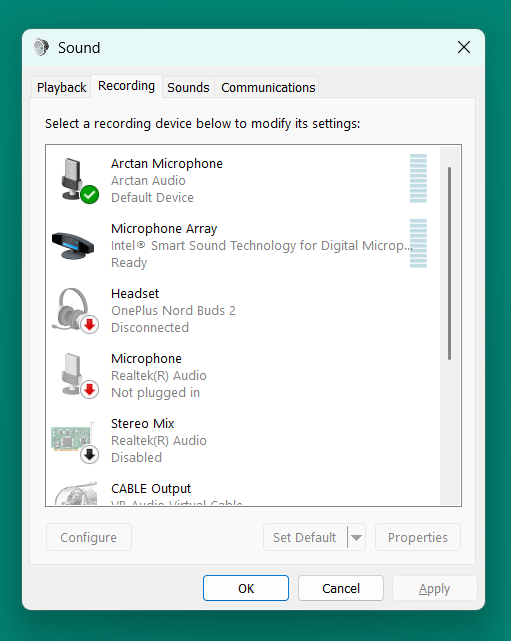
Step 2: Verify Arctan Microphone is the default recording device
When Arctan is active, the app automatically sets Arctan Microphone as the Windows default recording device. Users do not need to configure this manually.
On the Recording tab, you can verify that Arctan Microphone is shown as the Default Device.
Step 3: Disable microphone exclusive mode and enhancements
Select your real microphone, open Properties, go to Advanced, and clear these options when available:
- Allow applications to take exclusive control of this device
- Enable audio enhancements
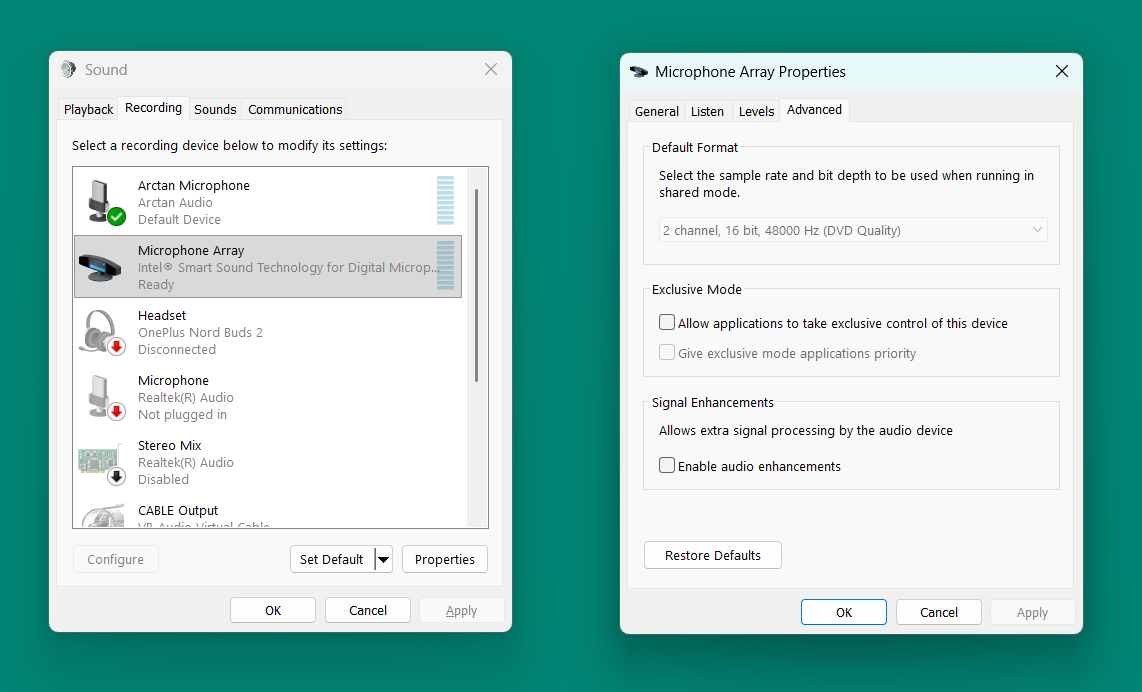
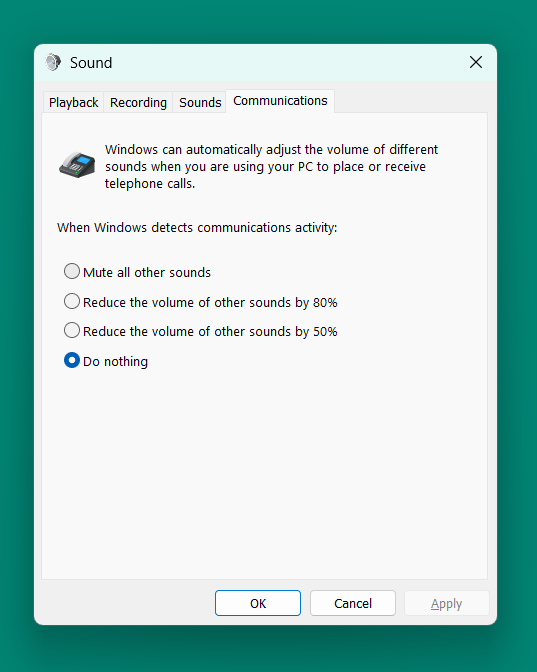
Step 4: Stop Windows from lowering call audio
Open the Communications tab, select Do nothing, then click OK or Apply.
6. Disable Browser Input-Volume Adjustment
If you use a browser-based dialer or web calling app in Chrome, disable automatic WebRTC input-volume changes.
- Open Chrome.
- Go to chrome://flags.
- Search for volume.
- Find Allow WebRTC to adjust the input volume.
- Set it to Disabled.
- Restart Chrome if Chrome asks you to relaunch.

7. Configure Your Calling App
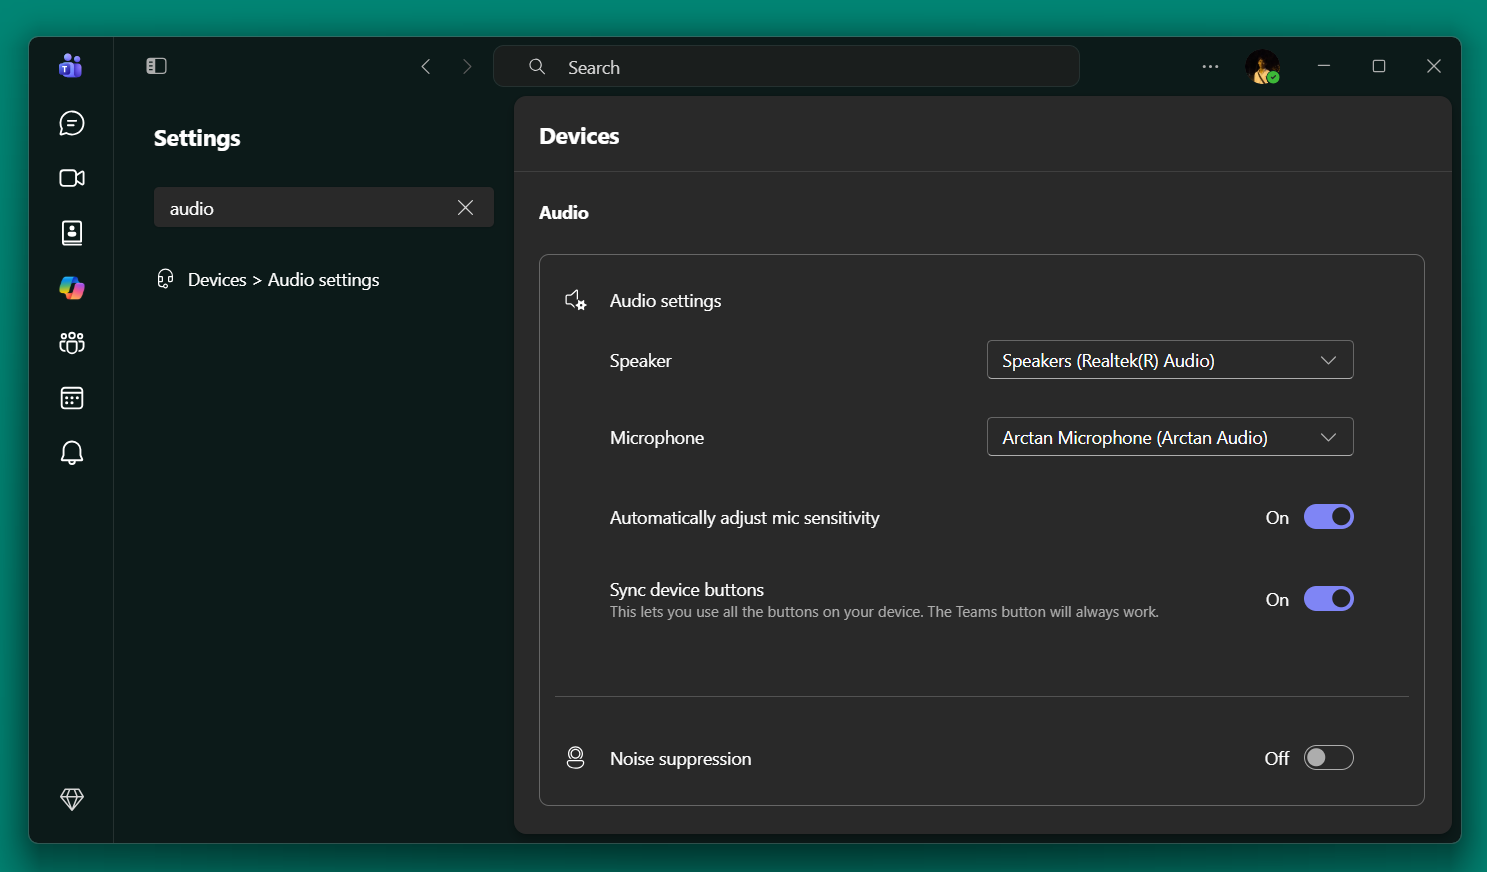
Inside your calling app, choose your real speakers for output and Arctan Microphone for input. The screenshot below shows the setup in Microsoft Teams.
- Open the calling app settings.
- Go to the audio or device settings page.
- Set Speaker to your real speaker or headset.
- Set Microphone to Arctan Microphone (Arctan Audio).
- Turn off the app's built-in noise suppression if Arctan is handling voice processing.
8. Restart and Verify
Final checklist
- Arctan opens and shows Arctan is Active.
- Windows Playback default device is your real speaker or headset.
- Windows Recording shows Arctan Microphone as the default device while Arctan is active.
- Your calling app microphone is set to Arctan Microphone.
- Browser WebRTC input-volume adjustment is disabled if you use Chrome-based calling.
- Calling app noise suppression is off when Arctan is handling audio processing.